Getting Started with BidOn
This guide walks you through the essential steps to set up BidOn and start monetizing your app:
- Create an App in the console
- Set up a Demand Source Account (using BidMachine and AppLovin as examples)
- Create an App Demand Profile for app-level demand source settings
- Create Line Items to define bidding or CPM logic
- Configure an Auction to serve ads with a price floor and timeout
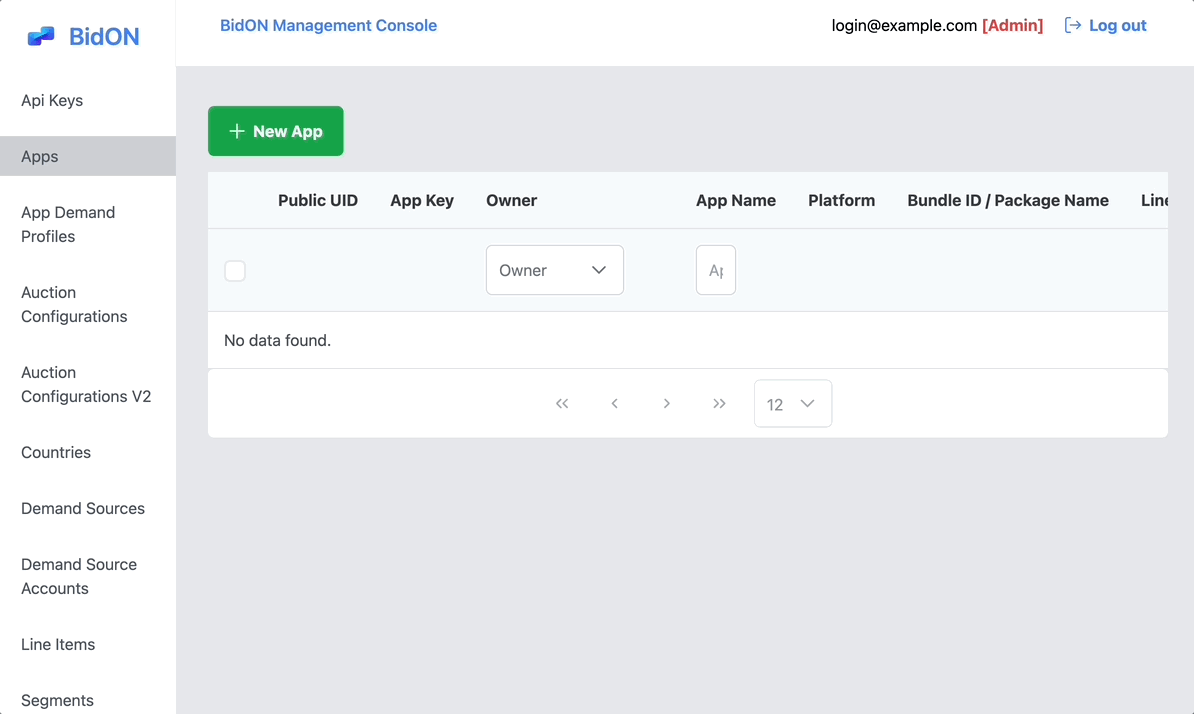
1. Create an App
-
In the BidOn Management Console, navigate to Apps in the sidebar.
-
Click New App to open the App form.
-
Fill in the following details:
- Owner: Your account or organization
- App Name: A descriptive name for your app (e.g., "example app")
- Platform: iOS or Android
- Bundle ID / Package Name: The package identifier (e.g.,
com.app.example)
-
Click Save.
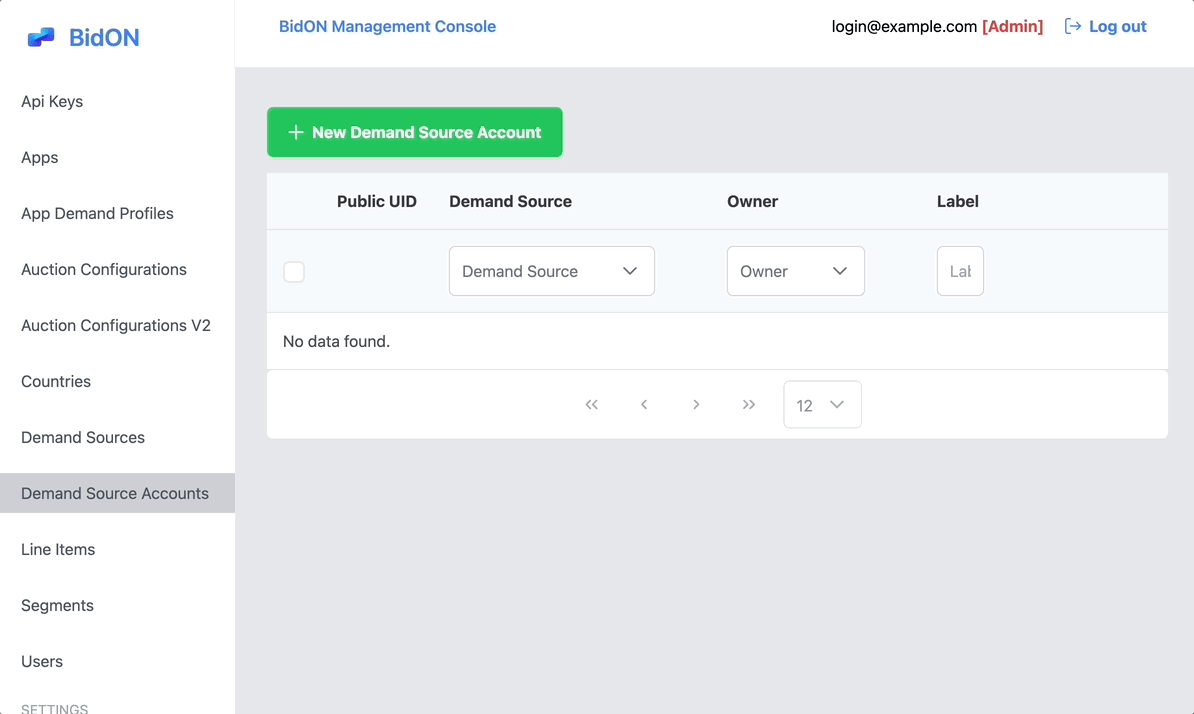
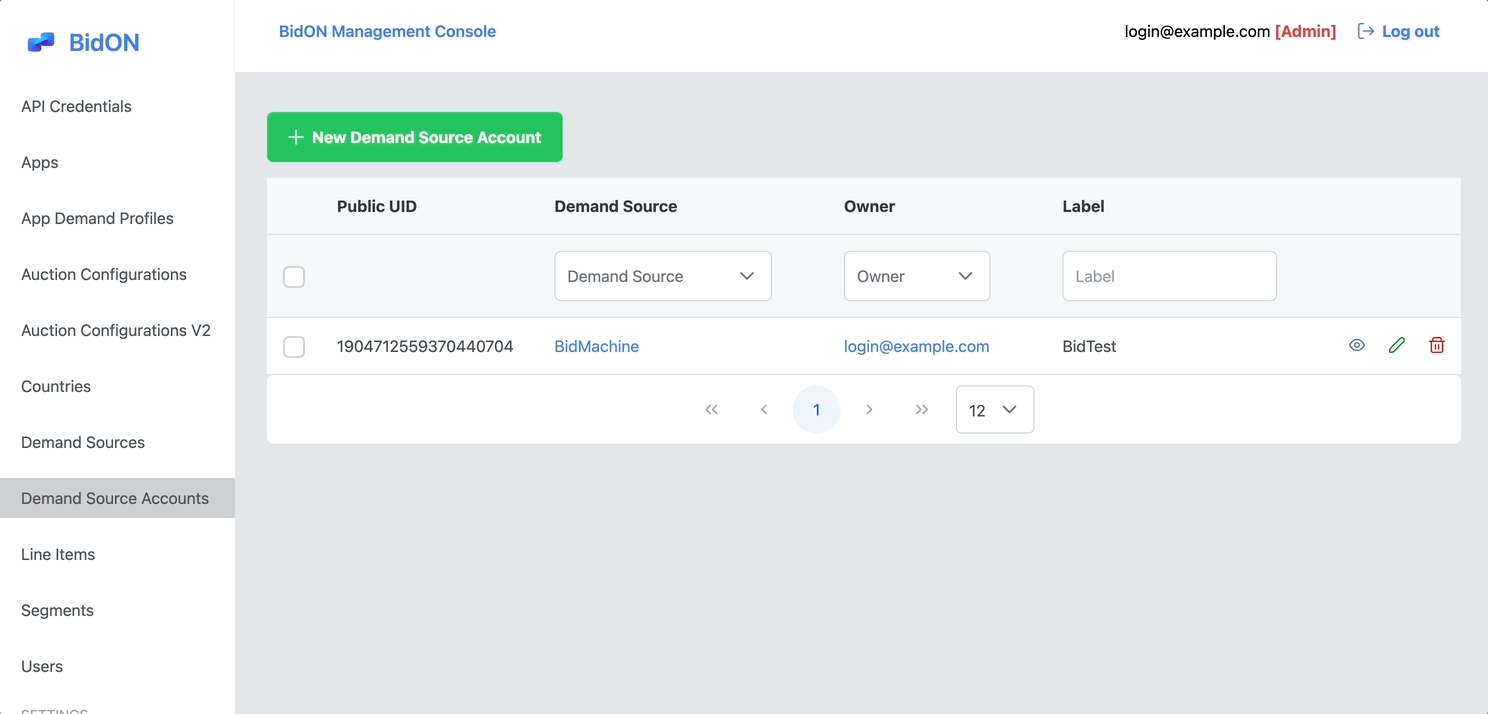
2. Create a Demand Source Account
A Demand Source Account stores credentials for a specific demand partner. Below, we'll set up accounts for both BidMachine and AppLovin.
BidMachine Account Setup
-
Go to Demand Source Accounts in the sidebar, then click New Demand Source Account.
-
Select Bidmachine from the Demand Source dropdown.
-
Fill in:
- Owner: The user/organization that will manage this account
- Label: A nickname (e.g., "BidTest")
- Seller ID: Unique ID provided by BidMachine (e.g.,
795) - Endpoint: Endpoint URL (e.g.,
x.appbaqend.com) - Mediation Config: JSON config if needed (leave empty if not required)
-
Click Save.
AppLovin Account Setup
-
Go to Demand Source Accounts in the sidebar, then click New Demand Source Account.
-
Select AppLovin from the Demand Source dropdown.
-
Fill in:
- Owner: Select "Shared" or your specific organization
- Label: A descriptive name (e.g., "AppLovin")
- SDK Key: Your AppLovin SDK Key
-
Click Save.
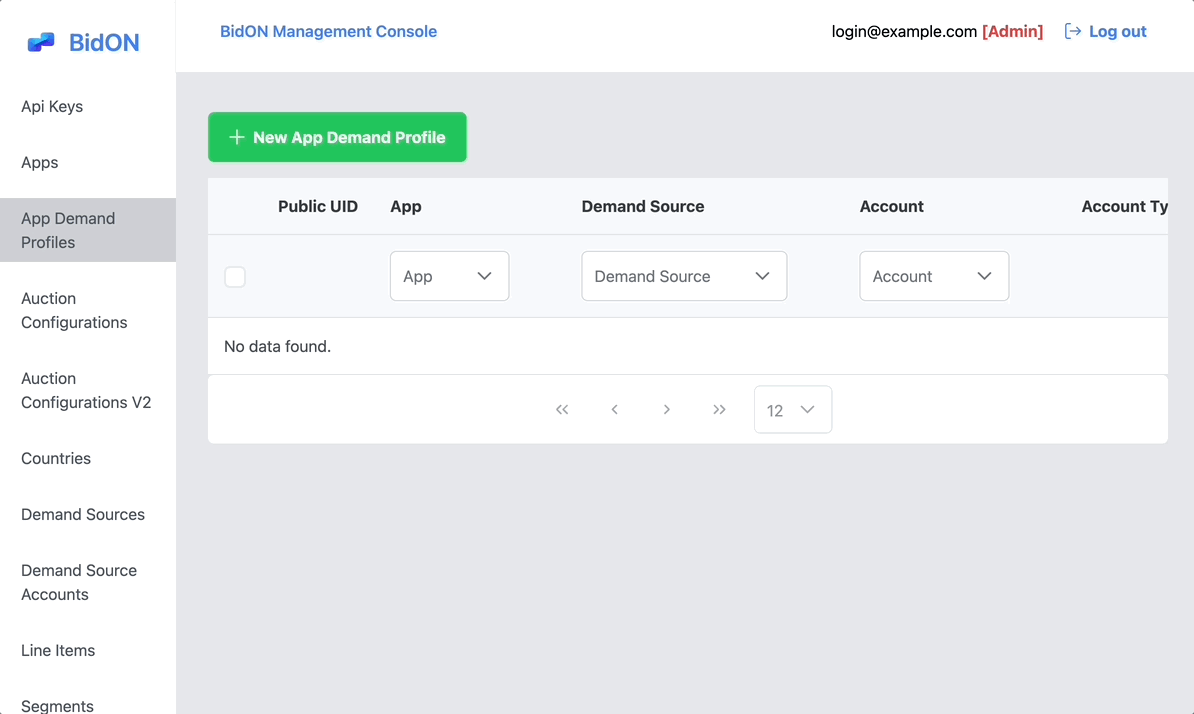
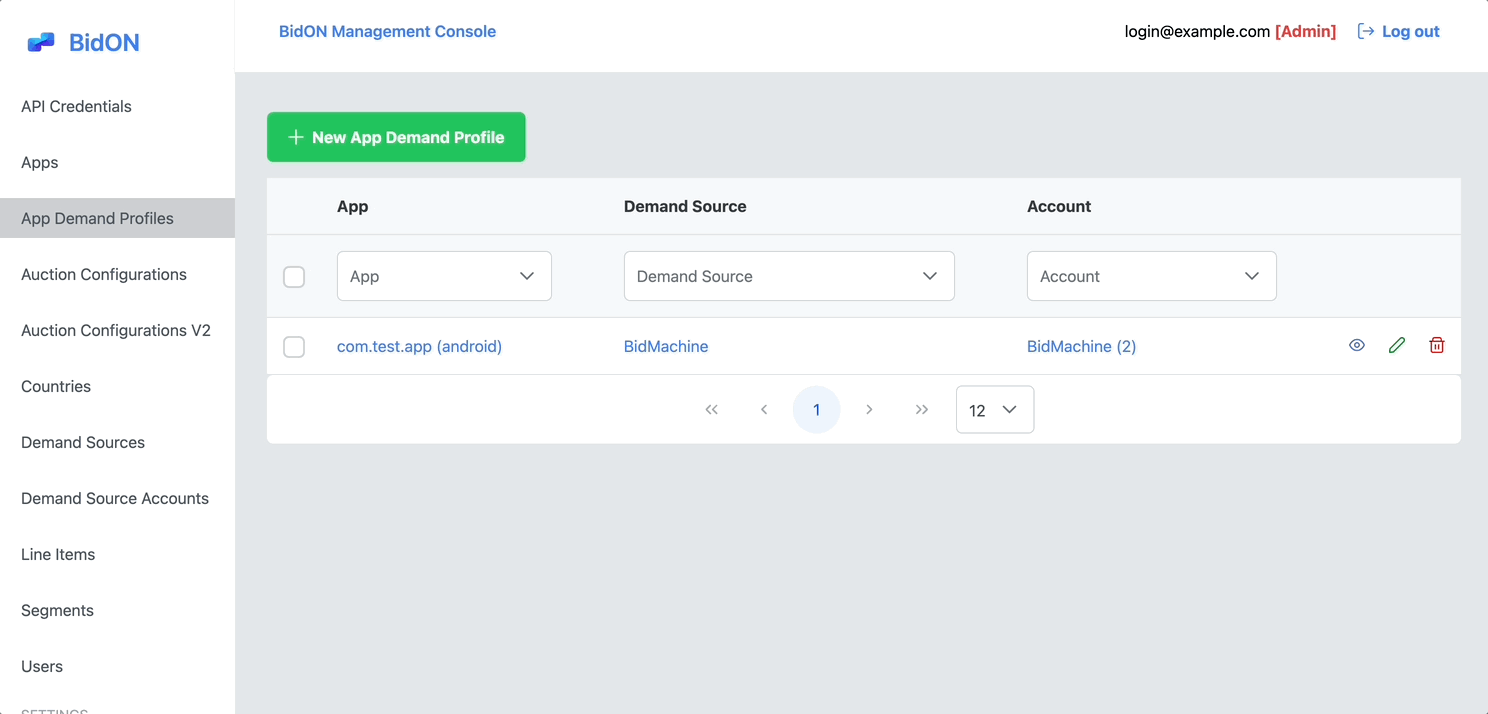
3. Create an App Demand Profile
An App Demand Profile links your App with a specific Demand Source Account and stores any app-level settings required by that demand partner. If you use multiple demand sources for a single app, you'll create multiple app demand profiles—one for each source.
BidMachine App Demand Profile
-
Navigate to App Demand Profiles in the sidebar.
-
Click New App Demand Profile.
-
Fill in:
- App: Select the app you created in Step 1 (e.g.,
com.app.example (android)). - Demand Source: Choose BidMachine (Bidding).
- Demand Source Account: Pick the BidMachine account you created (e.g.,
(BidMachine) BidTest). - Enabled: Check this box to activate the demand source for this app.
- App: Select the app you created in Step 1 (e.g.,
-
Click Save.
AppLovin App Demand Profile
-
Navigate to App Demand Profiles in the sidebar.
-
Click New App Demand Profile.
-
Fill in:
- App: Select your app from the dropdown.
- Demand Source: Choose AppLovin (Ad Network).
- Demand Source Account: Select the AppLovin account you created (e.g.,
(AppLovin) ApplovinTest). - Enabled: Check this box to activate AppLovin for this app.
-
Click Save.
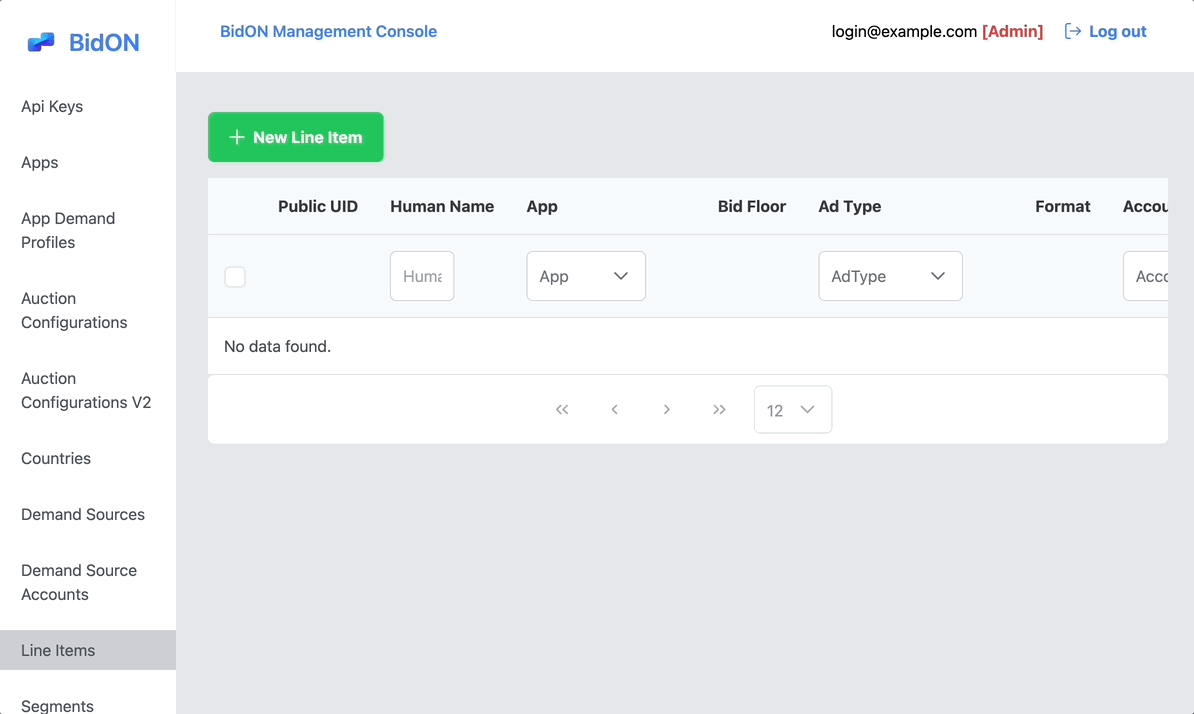
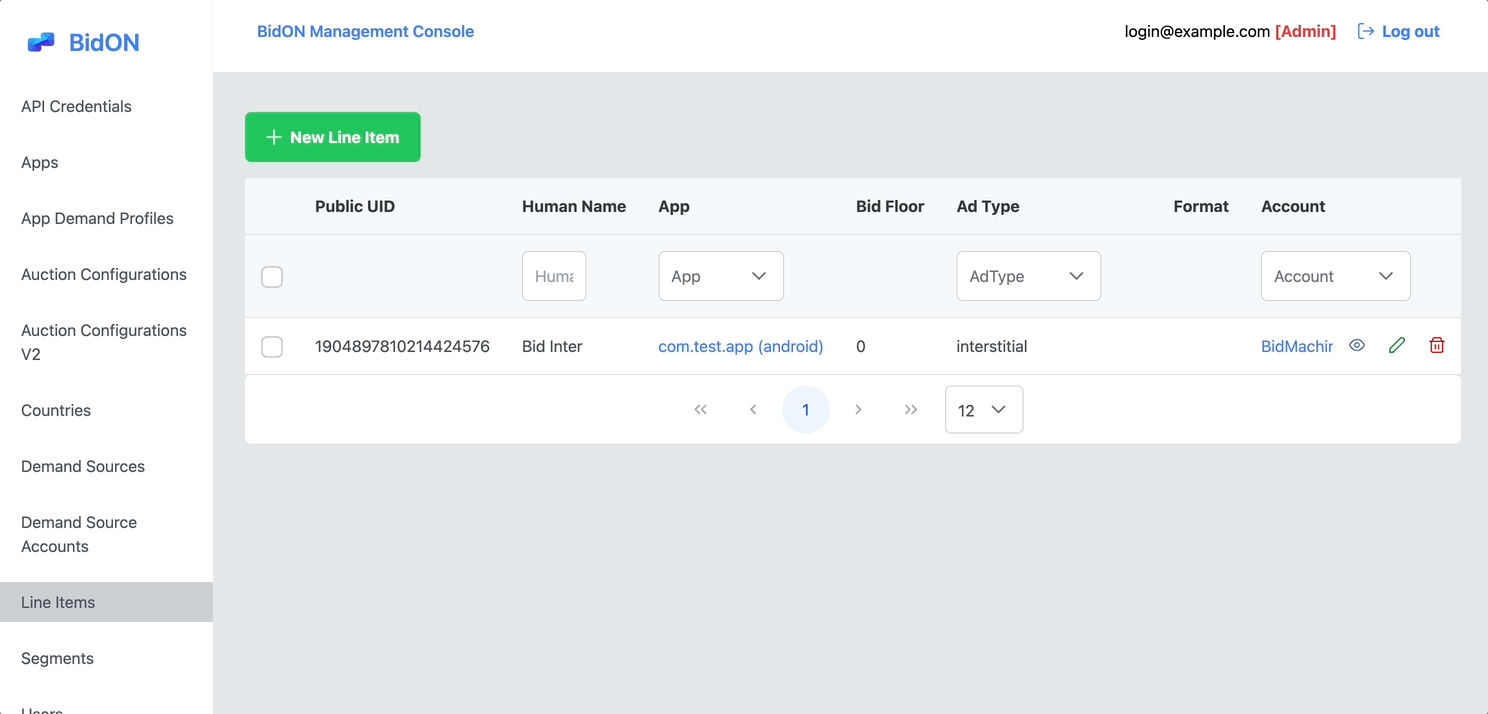
4. Create Line Items
A Line Item defines how each ad source competes for a specific ad type (e.g., Interstitial, Banner, Rewarded Video). Bidding networks like BidMachine use Bidding line items, while CPM-based networks use CPM line items.
Note: The console automatically separates bidding vs. CPM networks. You can't mix them by mistake because only the correct line item type is shown for each demand source.
BidMachine Line Item
-
Navigate to Line Items in the sidebar.
-
Click New Line Item.
-
Fill out:
- App: Select your app (e.g.,
com.test.app (android)). - Ad Type: Choose the format (e.g., Interstitial).
- Demand Source: Bidmachine.
- Demand Source Account: The BidMachine account you created.
- Label: A descriptive name (e.g., "Bid Inter").
- Auction Type: Choose Bidding (for BidMachine).
- App: Select your app (e.g.,
-
Click Save.
AppLovin Line Item
-
Navigate to Line Items in the sidebar.
-
Click New Line Item.
-
Fill out:
- App: Select your app (e.g.,
org.bidon.test_app (android)). - Ad Type: Choose the format (e.g., Banner).
- Demand Source: AppLovin.
- Demand Source Account: The AppLovin account you created (e.g.,
(AppLovin) ApplovinTest). - Label: A descriptive name for this line item.
- Auction Type: Select Default (for AppLovin).
- Bid Floor: Set your minimum acceptable bid (e.g.,
0.10). - Zone Id: Enter the AppLovin Zone ID for this ad unit.
- App: Select your app (e.g.,
-
Click Save.
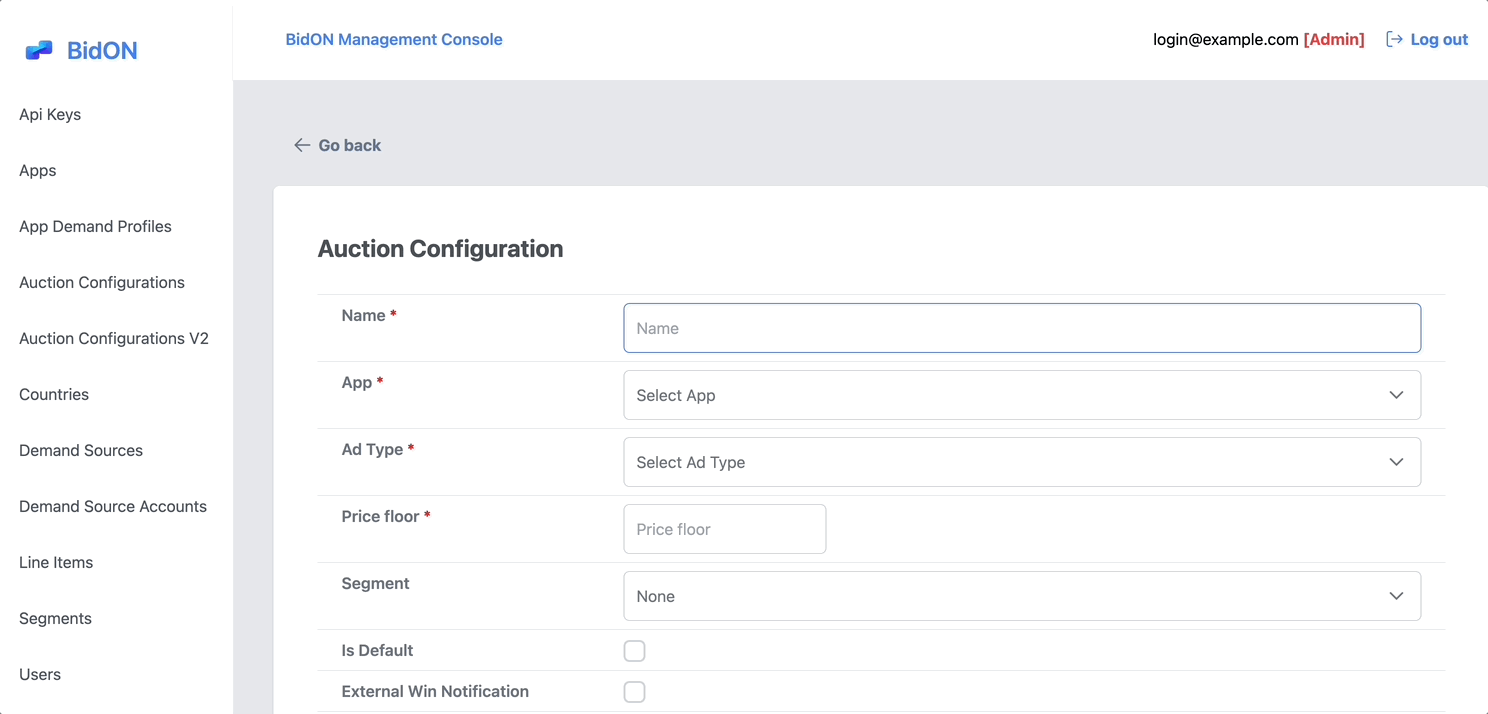
5. Configure the Auction
The Auction Configuration defines how demand sources compete, sets a price floor, and specifies timeouts. This is similar to other mediation platforms.
-
Go to Auction Configurations V2.
-
Click New Auction Configuration.
-
Fill in:
- Name: Descriptive name (e.g., "Inter Auction").
- App: Select your app (e.g.,
com.app.example (android)). - Ad Type: Choose the format (e.g., Interstitial).
- Price Floor: (e.g.,
0.10). Bids below this floor returnno_bid; CPM line items with eCPM below0.10are filtered out. - Segment: (Optional) Select a user segment.
- Is Default: Check if this is the default auction for this ad type/app.
- External Win Notification: Enable if your demand partner requires a win notice callback.
- Timeout: Recommended is
15000(15 seconds) to allow enough time for real-time bidding.
-
Scroll down to see Bidding Networks and CPM Networks:
- Under Bidding Networks, enable BidMachine and choose the relevant line items.
- Under CPM Networks, enable AppLovin and select the AppLovin line items you created.
-
Click Save.
Next Steps
- Integrate the SDK: After creating your auction configuration, follow the SDK Integration guide to add the BidOn SDK to your app.
- Add More Demand Sources: Repeat Steps 2–4 to add additional networks (either bidding or CPM) and create separate App Demand Profiles.
- Monitor & Optimize: Check performance metrics to fine-tune your price floors, timeouts, and demand source mix.
You now have a basic setup with:
- A single app
- Two demand sources (BidMachine and AppLovin)
- App Demand Profiles linking your app to each demand source
- Line items for each demand source and ad format
- An auction configuration that includes both demand sources